Hello Stamper, Vicky here!
I am the crazy owner of Crackerbox and Suzy Stamps.
Thank you for joining our hop! I am so glad to see you here and I hope you get a lot of great ideas, all of the designers have worked hard to create beautiful cards to inspire your creative juices so hop all the way through!
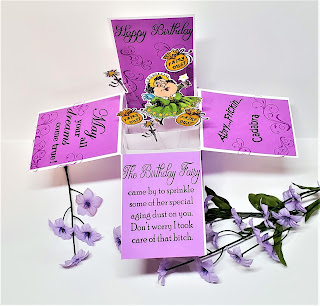
This is my Snarky Box Card for our first hop.


I am the crazy owner of Crackerbox and Suzy Stamps.
Thank you for joining our hop! I am so glad to see you here and I hope you get a lot of great ideas, all of the designers have worked hard to create beautiful cards to inspire your creative juices so hop all the way through!
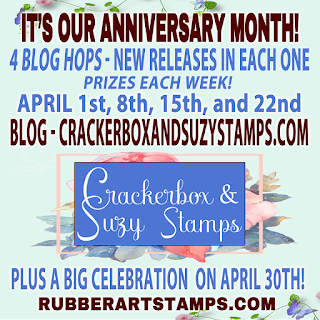
Prizes and Promotions!
Each week the new release will be 30% OFF plus FREE SHIPPING in US!
And in FREE INTERNATIONAL SHIPPING orders over $35.00.
But wait....we have more!!!
Each week, Crackerbox & Suzy Stamps is giving away a $25 gift card.
In order to entered to win, all you need to do is hop along with us and comment in each blog. Hoppers must comment in all stops along the way!
This is my Snarky Box Card for our first hop.

I am using some of our new release stamps. The first one is Birthday Fairy, and Background Swirl Set of 3. The other stamps that I used are Fairy Godmother, Fairy Dust and Wand. The two stamps on the side flaps are May Your Dreams Come True and Abry...Fricken...Cadabra.
I used a Card Box Kit from The Paper Cut.

The layout for the Box Card.

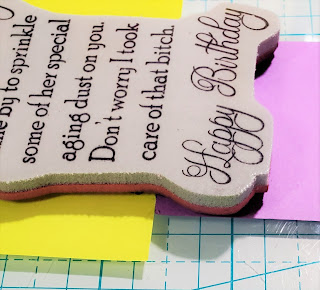
This is the stamp, Birthday Fairy.

This stamp will be stamped to on the front flap. I masked the Happy Birthday that will go on the back of the back flap.


I masked off the saying to stamp the Happy Birthday on the long card stock for the back of the box.

I put the Post-It-Note straight across the saying then butted up the card stock to the edge of the mask to I know that the saying would be straight.

I used just the Medium Background Swirl and the Small Background Swirl. These panels will be put on the bottom of the box.

OK, now we are ready to put it together!

Here is the box with the front flap up to see the bottom of the box.

All you need to add is the 3 strips to hold the cutouts.

I guess you need to get some Apple Fritters or some other sweet treats to get the box!
I cut 1/4 inch strips to hold the cutouts.

Stamp, color and cutout your images and then adhere them to your strips.

And HERE is the Box Card!


On side of the box.

The other side.

It did not take me very long to make this. All of the flaps are the same size and just lay them out and stamp. Glue the box together and put in your strips and add your cutout!
Many, many thanks for stopping by, I really appreciate it!
Vicky Briggs -- You are here
Giada Rigamonti

Vicky Briggs


Join our Flaunt It If You Made It Facebook page.
You can recieve $5.00 store credit if you post a card made with one of our stamps on sale and use the technique of the month!
Stay healthy~!Vicky Briggs